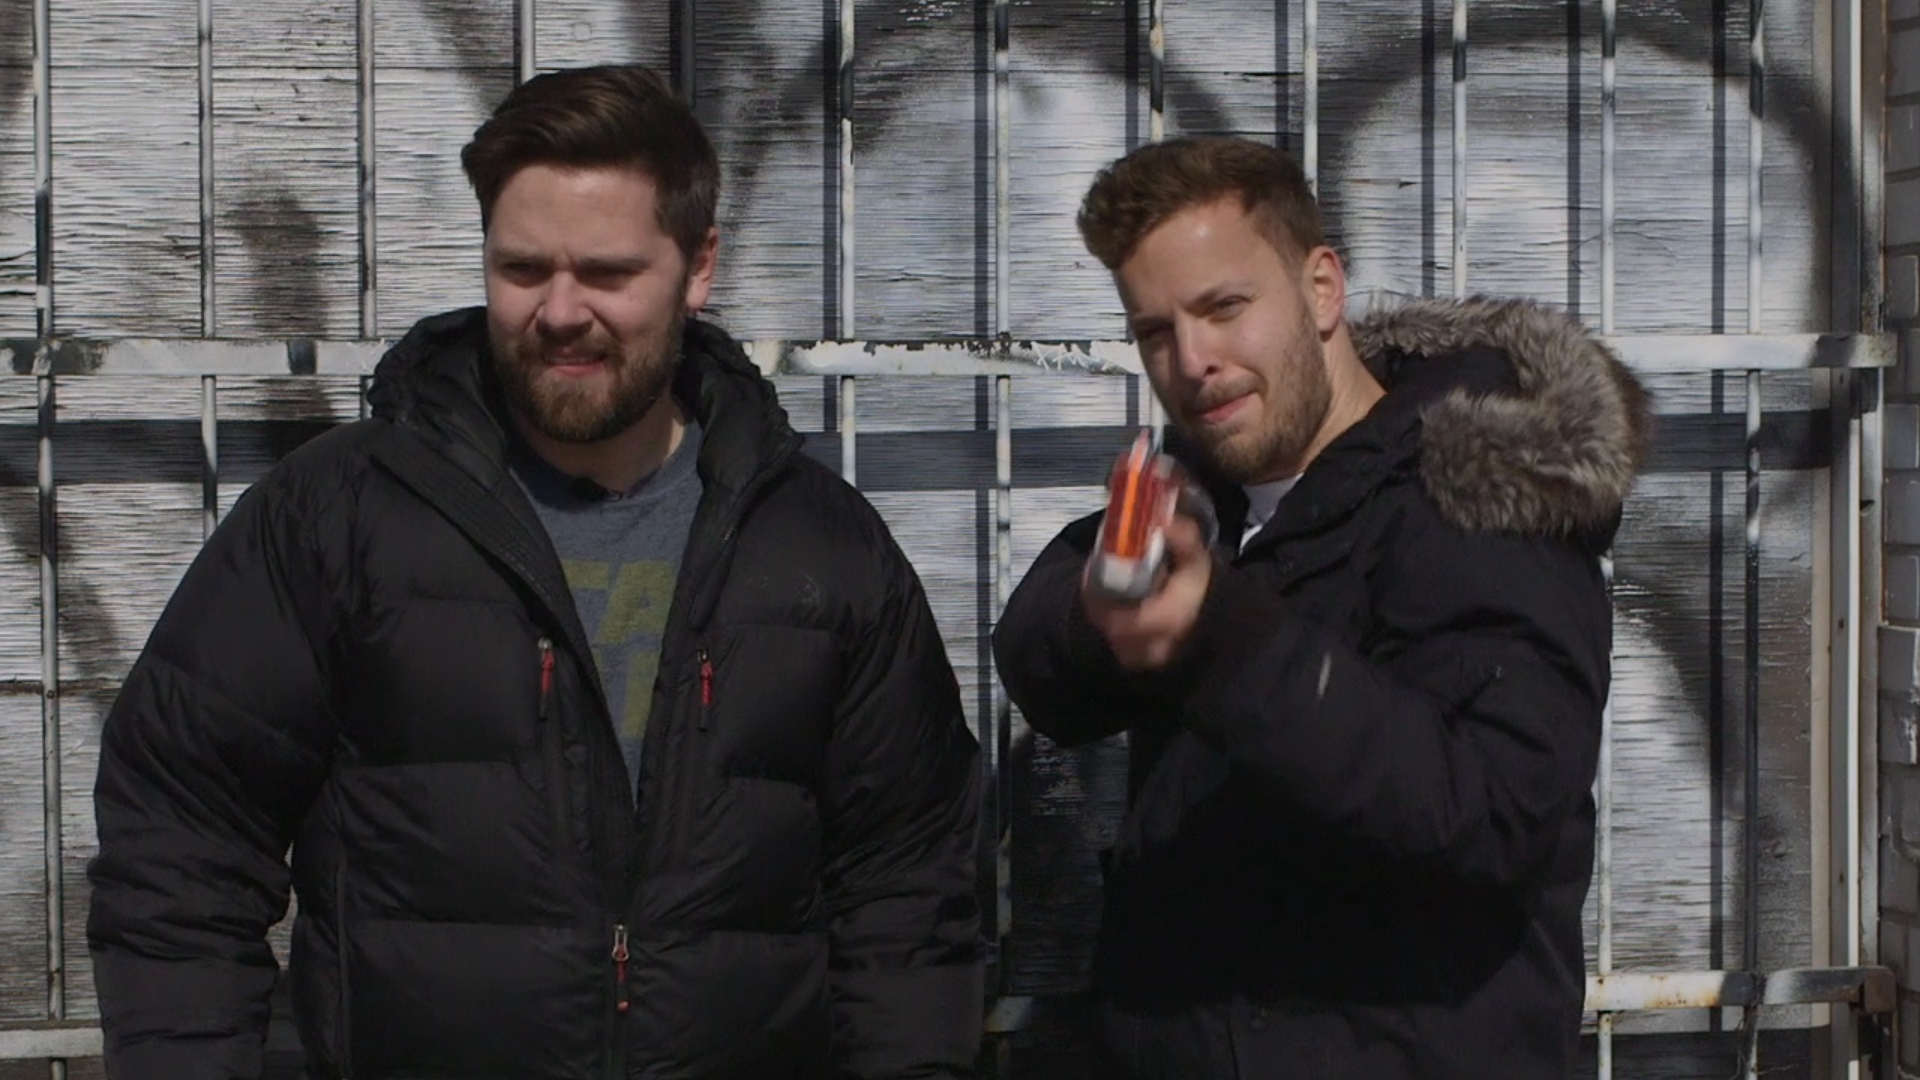
In an early Throttle House skit, we see Thomas get his hands on an growth ray and, of course, gets straight to testing it on a couple of toy cars (a Toyota 4Runner TRD Pro and a Jeep Wrangler Rubicon). This would be a fun test, copying the likes of Marvel’s superhero movie Ant-Man, to make a believable sci-fi glowing effect, and respective futuristic muzzle flare.
We made sure to plan ahead and shoot as fast as possible to keep the lighting even, as we knew we’d have to swap out the toy cars for the real ones quickly to avoid any issues colour matching. We also wobbled one of the cars during shooting – we’ll get to why later.
Okay, well, you know a shrink-ray? This does the opposite!
We began by storyboarding the skit from back to front so that we could get a grasp of the required angles, although location hunting was essentially a day-of assignment, so it was ultimately most used as an editing tool to ensure that we were able to frame the performers (and the cars) in the right position to give us the best view (and simplest plates) for us to take to post-production.
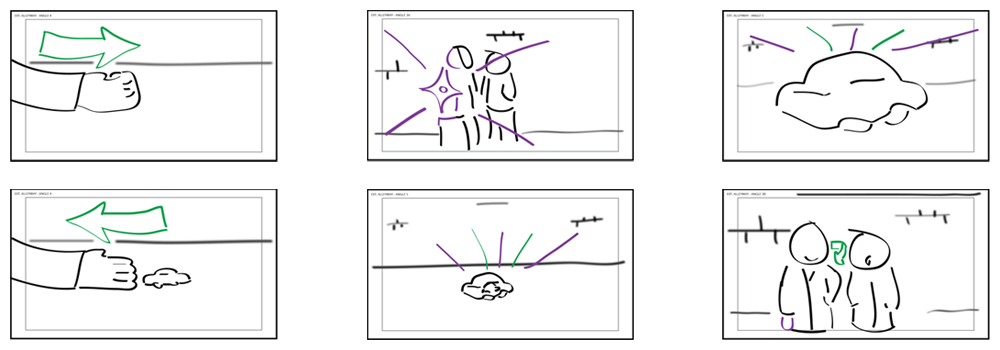
The final product ended up being very close to the storyboards; even though the location did not match up to the space required, Thomas and James managed to find a suitable backdrop for us to show the viewers something awesome.


The first problem to tackle was the look and feel of the projectile. As it’s sci-fi, the obvious element is electricity, so the design ended up being a connection projectile first (which looks like a lightning bolt) and a separate ball of electricity which channels down the lightning rod into the target.
The projectile and flare were both created with help from Video Copilot‘s Optical Flares plugin which is a fast and powerful tool to generate all kinds of lens flares. Here we could animate the projectile to make it look as though it is moving around itself during the length of the journey to the target.
The lightning itself was also created with the built-in After Effects tool Advanced Lightning where I could control the start point (parented to a null manually tracked to the muzzle) and the end (offscreen). By rapidly animating the evolution trait, the lightning changes frame by frame, adding a ton of energy. I added a final adjustment layer to blow out the background in sync with the effect – or at least it looked that way, by adding a wiggle function to the layer’s opacity.